Step 1: Preparing the Action Figure
Before you begin painting, it’s essential to ensure that your action figure is clean and free from any dust, dirt, or residue. You can gently wash the figure with mild soap and water and let it dry completely. If your figure has removable parts, consider disassembling them to have easier access to different areas during the painting process.

Step 2: Priming
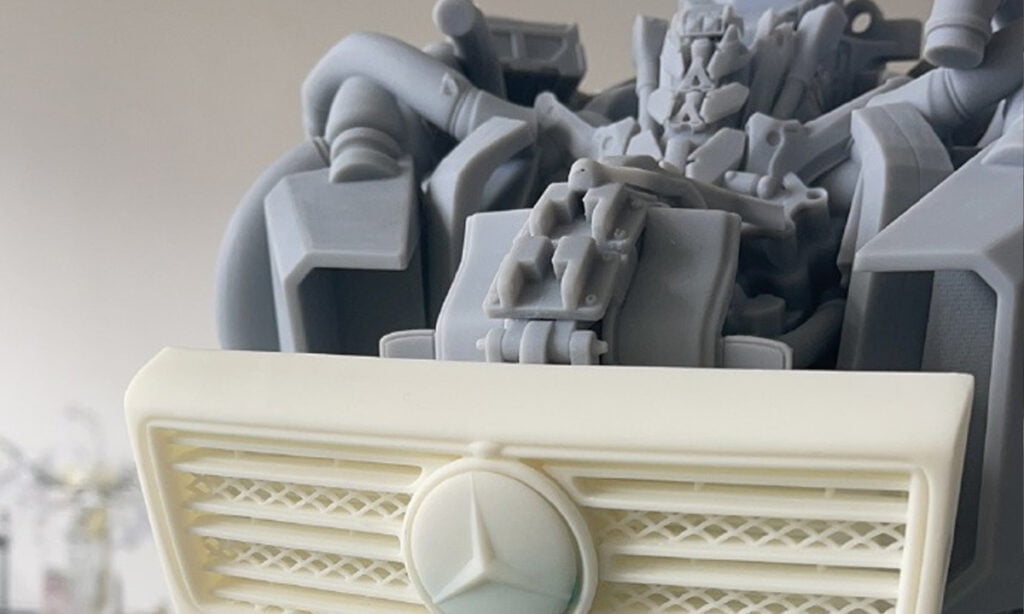
Priming is a crucial step that provides a smooth surface for the paint to adhere to and enhances the longevity of your paint job. Choose a primer that is compatible with the material of your action figure. Apply a thin, even layer of primer and let it dry according to the manufacturer’s instructions. Priming also helps to prevent the original colors of the figure from showing through.
Step 3: Choosing the Right Paints
Acrylic paints are the go-to choice for painting action figures due to their versatility and quick drying time. Make sure to select high-quality acrylic paints specifically designed for miniatures or models. These paints offer better coverage and finer pigments, allowing for more detailed and professional-looking results.
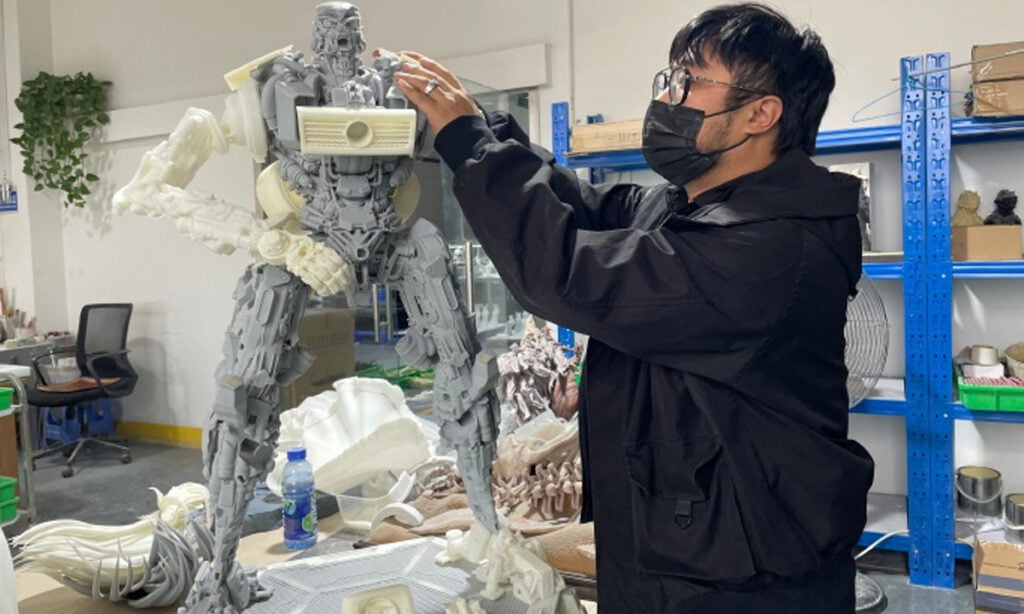

Step 4: Painting Techniques
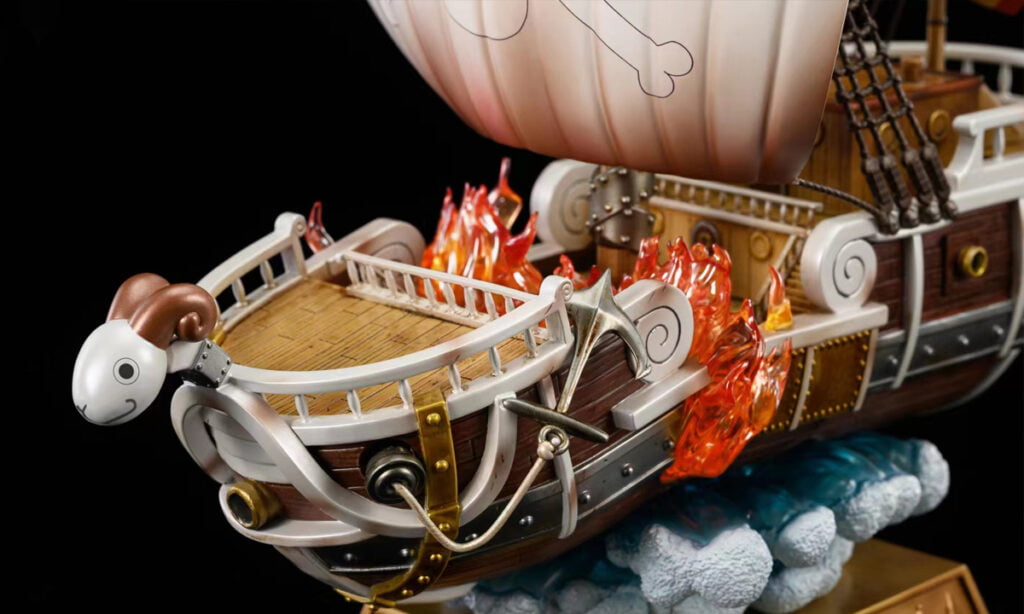
a) Base Coating: Start by applying the base colors to your action figure. Use a flat brush to ensure smooth and even coverage. Apply thin layers of paint and let each layer dry before adding more coats. This step establishes the foundation for the rest of your paint job.
b) Layering: Layering is essential for adding depth and dimension to your figure. Gradually build up the colors by applying lighter and darker shades to create highlights and shadows. This technique brings out the contours and details of your figure’s sculpt.
c) Dry Brushing: Dry brushing is a technique that involves using a dry brush with a minimal amount of paint to create subtle textures and highlights. It’s particularly useful for emphasizing raised details and giving your figure a weathered appearance.
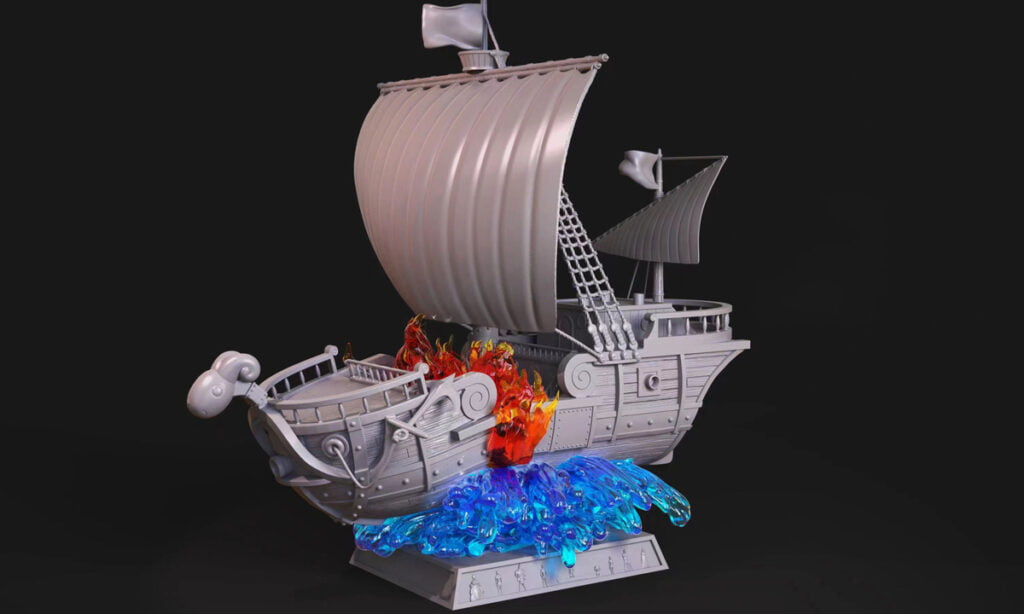

Step 5: Fine Detailing
Use smaller brushes or even toothpicks for fine detailing such as facial features, logos, or intricate patterns. Take your time and exercise precision to ensure clean lines and accurate detailing. Small, controlled strokes can make a significant difference in the final outcome.
Step 6: Sealing
After completing the paint job and allowing it to dry thoroughly, it’s essential to protect your work. Apply a clear sealant, either matte or gloss, to safeguard the paint and provide a finished look. The sealant also helps prevent chipping and fading over time.


Step 7: Optional Weathering
If you’re aiming for a weathered or battle-worn appearance, you can use techniques like dry brushing, stippling, or sponging to add realistic wear and tear effects. This step adds character and depth to your action figure.
Conclusion
Painting an action figure is a blend of artistry, patience, and craftsmanship. By following these steps and experimenting with different techniques, you can create a unique and personalized piece that stands out in your collection. And if you’re seeking professional results, remember that Toyyie is here to assist you in the world of toy manufacturing. Our expertise extends to crafting customized action figures that embody your creative vision. So, gather your tools, unleash your creativity, and enjoy the journey of bringing your action figure to life with your own artistic flair!

