📌 Introduction📌
Dear LinkedIn Community,
With years of experience in the plush toy manufacturing industry, I’ve had the privilege of crafting high-end toys for various brands. However, some of my most rewarding projects have been those created on a budget, right at my kitchen table with just a few dollars’ worth of materials and an idea.
Today, I’d like to share a step-by-step guide on how to create your own customized plush toy, suitable for hobbyists and aspiring designers alike. This project demonstrates how creativity and basic skills can lead to unique creations without the need for significant investment.
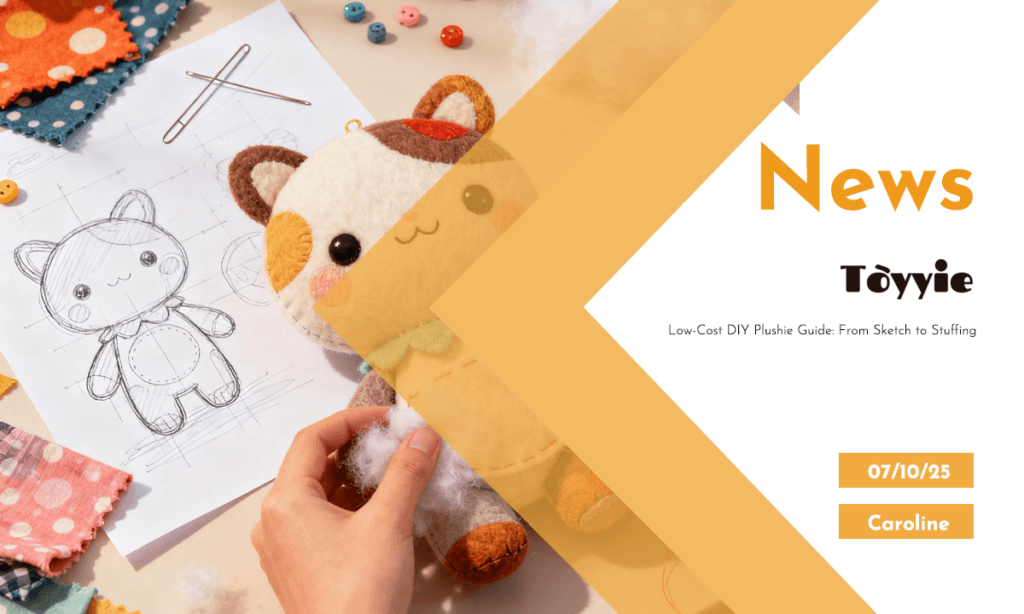
Step 1: Sketch Your Concept
Start by conceptualizing your design. It doesn’t require professional drawing skills; focus on expressing your vision through simple sketches. Consider the character’s personality, style, and appeal.
**Industry Tip:** Simplistic shapes are easier to work with and ensure better quality outcomes.
Step 2: Gather Materials
For professionals looking to experiment or beginners testing the waters, here’s a cost-effective list:
– **Fabric (Fleece or Cotton):** Offers flexibility and ease of use.
– **Polyester Fiberfill:** For a soft, durable finish.
– **Embroidery Thread or Safety Eyes:** To add expressions and details.
– **Basic Sewing Kit or Sewing Machine:** Essential tools for bringing designs to life.
**Professional Insight:** Utilize local fabric stores for discounted remnants to keep costs low while exploring different textures and colors.
Step 3: Pattern Making
Transform your sketch into a paper pattern—a crucial blueprint for your plush creation. Ensure accuracy and symmetry for a polished final product.
4: Cutting and Sewing
Whether you choose hand stitching for its portability or machine sewing for efficiency, this stage brings your design to life. Precision is key to achieving professional results.
Step 5: Turning, Stuffing, and Closing
This phase requires attention to detail to achieve the desired shape and firmness. Proper stuffing techniques ensure a high-quality finish.
Step 6: Adding Personality
Final touches such as eyes, facial features, and accessories allow your creation to truly stand out. Consider using embroidery or appliques to add depth and character.
💬 **Made your first plushie?**
By sharing this guide, my aim is to inspire creativity and innovation within our community. Whether you’re looking to enhance your portfolio or simply enjoy a creative outlet, the art of making plush toys offers both a rewarding challenge and a tangible result of one’s efforts.
Let’s celebrate creativity and craftsmanship together!
Feel free to share your creations or ask questions below. I look forward to seeing what you come up with!