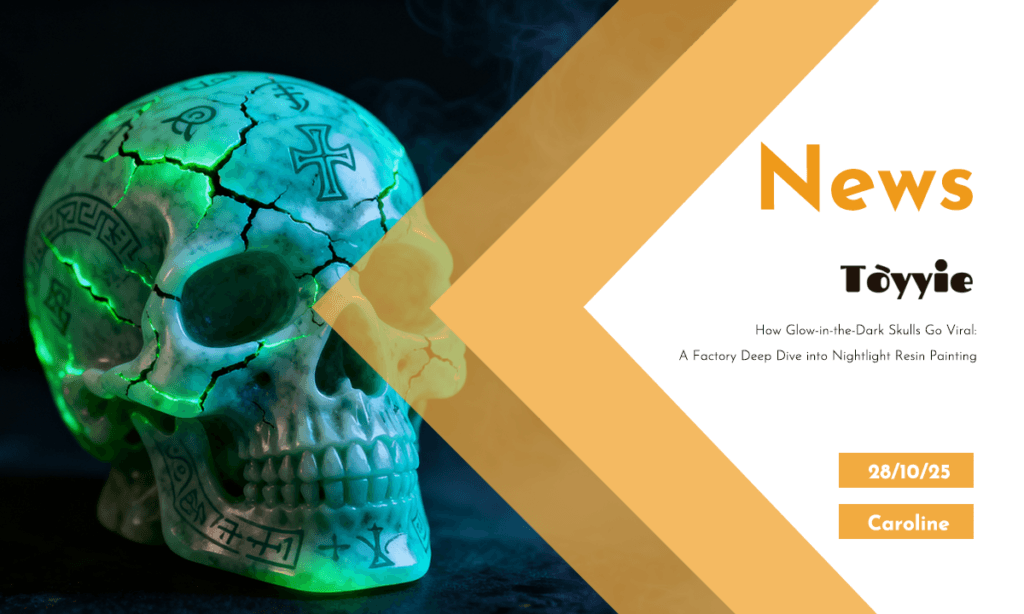
📌 Introduction📌
Hey creators, brand owners, and Halloween hustlers,
I’m Caroline — I run a toy factory in Dongguan, and last summer, I get the request:
> “We want a **Halloween resin skull** — but not just any skull. We want it to **glow in the dark**… and look premium under daylight.”
Most assume glow paint = cheap toy energy.
But here’s what I’ve learned after making **over 50,000 glow skulls** in the last 5 years:
> **With the right technique, a glowing skull isn’t tacky — it’s iconic.**
And the secret?
It’s not just **glow powder**.
It’s **how you layer it — and protect it**.
Let me break down our **proven nightlight process** — so you can create a piece that looks great on shelves *and* goes viral in the dark.
🌙 Step 1: Choose the Right Glow Pigment (Not All Are Equal)
First mistake I see?
Brands buy cheap **green-glow powder** off generic suppliers — then wonder why it fades in 3 weeks.
Not all glow pigments are created equal.
We use **strontium aluminate-based powder** — not the old-school zinc sulfide.
Why?
| Feature | Strontium Aluminate | Zinc Sulfide |
| Brightness | 3–5x brighter | Low |
| Duration | 8–12 hours | 1–2 hours |
| Fade Resistance | 10+ years | Fades fast |
| Color Options | Green, Blue, Purple, Aqua | Mostly green |
> **Factory truth**: We tested 12 suppliers. Only 3 passed our 500-hour UV exposure test.
Now we lock in bulk with one — consistency is everything.
For Halloween, **green** is classic. But **aqua** and **purple** are trending — especially for witch or cyberpunk themes.
🎨 Step 2: Mix & Apply Glow Paint Like a Pro
Glow powder doesn’t work like regular paint.
Too much? Cracks.
Too little? Barely glows.
Wrong binder? Peels in humidity.
Our formula:
– **60% glow powder** (activated by light)
– **40% clear resin medium** (not acrylic — it yellows)
– Mixed fresh per batch — never stored
Application:
– Hand-paint **thin, even layers** (2–3 coats)
– Cure 24 hours between coats
– Sand lightly if needed — but avoid over-sanding
> **Pro tip**: Apply glow paint **only to key areas** — eye sockets, cracks, jawline.
Full-coverage looks like a toy.
Strategic glow? Feels intentional.
We once did a “Zombie Oracle” skull — only the **cracked left eye** glowed. Fans said it felt “cursed.” Sold out in 48 hours.
💡 Step 3: Boost the Charge with Matte Base + UV Topcoat
Here’s where most brands stop — and miss the magic.
Glow paint needs **light to charge**.
But a glossy surface **reflects light away** — meaning less charge, weaker glow.
So we use a **3-layer system**:
1. **Matte white base**
→ Reflects ambient light *into* the glow layer
→ Acts like a “light mirror”
2. **Glow paint layer**
→ Absorbs and stores energy
3. **Clear UV-protective topcoat**
→ Seals the glow paint
→ Adds subtle shine *only* on select details (like teeth or runes)
> **Factory hack**: We use a **semi-gloss UV resin** for the topcoat — but only on 20% of the surface.
The rest stays matte.
Result?
Daylight: premium, textured look.
Dark: full glow.
And the UV-coated parts? They **catch light like real enamel**.
🔬 Real Case: “Witch Queen Skull” – How Glow Made It Go Viral
A Berlin brand came to us with a simple ask:
> “We want a skull that feels ancient… and glows like moonlight.”
We designed a “Witch Queen” — cracked obsidian texture, silver runes.
But the magic was in the paint:
– **Matte white base** on entire skull
– **Aqua glow paint** only in the **cracks and runes**
– **UV topcoat** only on the **silver symbols**
Result?
– In daylight: looks like a mystical artifact.
– In dark: runes **pulse with soft blue light**.
– One fan filmed it in their haunted house setup — video got **2.3M views on TikTok**.
They sold **8,000 units** in 6 weeks — 70% from social referrals.
> **My takeaway**: Glow isn’t just a feature.
It’s a **content engine**.
🚨 3 Common Glow Mistakes (And How to Avoid Them)
Even pros get this wrong.
Here’s what kills glow performance:
❌ **Using acrylic-based binders**
Acrylic yellows over time — blocks light, kills glow.
Always use **clear resin medium**.
❌ **Skipping the matte base**
Without it, glow layer gets less charge.
Brightness drops by 40–60%.
❌ **Overcoating with gloss**
Full gloss = light reflection = poor charging.
Use **selective UV topcoat** — shine where it matters.
> **Factory story**: A brand insisted on full gloss. We warned them.
They launched.
Customers complained: “It barely glows!”
We re-did the batch — matte base + partial UV.
Glow improved 3x.
Lesson learned — the hard way.
🧪 Bonus: How We Test Glow Performance (Before Shipping)
We don’t guess. We test.
Our QC process:
1. **Charge**: 5 minutes under 5000K LED light (simulates daylight)
2. **Dark room**: Wait 30 seconds
3. **Rate glow** on a 1–10 scale at:
– 5 min
– 30 min
– 2 hours
4. Reject any batch below 7/10 at 30 min
> **Pro insight**: The best glow isn’t the brightest at first — it’s the one that **lasts**.
We optimize for **3+ hour visibility**, not just initial flash.
🚀 Final Thought: Glow Isn’t a Gimmick — It’s a Moment
People don’t just *buy* a glow skull.
They **experience** it.
They turn off the lights.
They charge it with their phone flashlight.
They show their friends.
And when that skull **comes alive in the dark**?
That’s the moment they **take a video**.
That’s the moment it **spreads**.
So don’t treat glow as an afterthought.
Build your design around it.
Respect the material.
And make something that doesn’t just sit on a shelf — but **performs**.
At our factory, we call it **“dark magic.”**
And when it’s done right?
It’s not just collectible.
It’s unforgettable.
💬 **Are you launching a glow-in-the-dark collectible this Halloween?**
What’s your biggest challenge?
Color choice? Durability? Charging time?
Drop your question below — I’ll reply with real factory tips.
Let’s make something that shines — even in the dark.